
Imagine Crafts Products Used:
- Memento Dewdrop Ink - Summer Sky
- Memento Dewdrop Ink - Angel Pink
- Memento Dewdrop Ink - London Fog
- Sheer Shimmer Sparkle Spray
- Brilliance Ink - Starlite Black
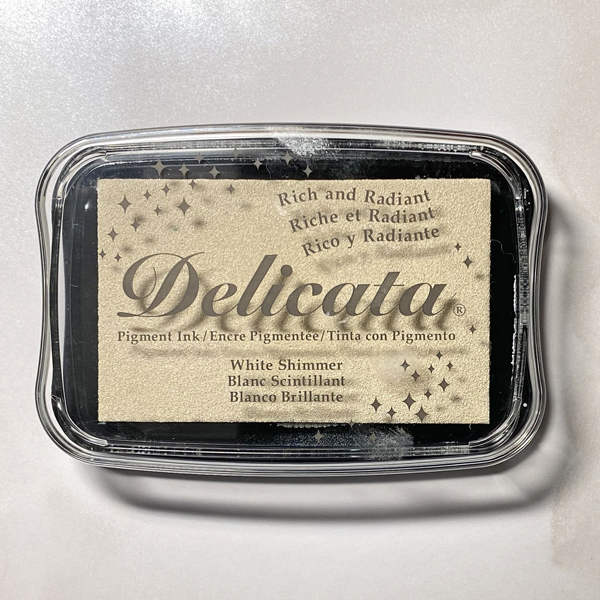
- Delicata Ink - White Shimmer
- Ink Sweepers
- Sponge Daubers
- Tear It! Tape
- Craft Mat
Other Products Used:
- 140 lb. Mixed Media Cardstock by Strathmore
- Solar White Classic Crest Cardstock by Neenah Papers
- Avalanche White Cardstock by Bazzill Basics
- Steampunk Heart Clear Polymer Stamp by Lavinia Stamps*
- Wings Large Clear Polymer Stamp Set by Lavinia Stamps*
- Cogs 2 Polymer Stamp Set by Lavinia Stamps*
- Cogs 3 Polymer Stamp Set by Lavinia Stamps*
- Love Die Set Source Unknown
- Speedball Brayer
- Tonic Stamping Platform
- Heat Gun by EK Success


Use a stamping platform and Starlite Black Brilliance ink to stamp the Steampunk Heart twice - once onto a 6” x 8” piece of Mixed Media paper and a second time onto Repositionable Label paper. Heat set the Mixed Media paper panel.
Smoosh London Fog Memento ink onto craft mat. Spritz the ink with Sheer Shimmer Sparkle Craft Spray.
Use a paint brush to pick up the diluted ink to color the center of the heart.

Fussy-cut the label paper heart and place it atop its counterpart on the image panel.


Step 3:
Use a Sponge Dauber to sponge Summer Sky Memento Ink horizontally across the image panel. Don’t worry about leaving white areas.
Use a Sponge Dauber to sponge Angel Pink Memento Ink onto the white areas of the image panel. You’ve now created a slightly stormy sky!

Step 4:
Use a stamping platform to position the wing stamps facedown on the masked steampunk heart.
Ink with Starlite Black Brilliance Ink and stamp. Repeat if necessary to attain a clean image. Wipe remaining ink off of the stamp. Heat set the image panel.

Step 5:
Use a brayer to apply White Shimmer Delicata Ink to the wing stamps. Stamp.


Step 6:
Smoosh a 1” wide strip of white cardstock onto the Starlite Black Brilliance Pad. Smoosh a second 2” wide strip of white cardstock onto the White Shimmer Delicata Ink Pad.
Heat set both panels.

Step 7:
Apply Tear-It! Tape to the backs of both panels.
Use the “love” Shadow die to cut the White Shimmer Delicata inked cardstock.
Use the “love” die to cut the Starlite Black Brilliance inked cardstock.
Adhere the Starlite Black “love” die-cut to atop the White Shimmer Delicata “love” shadow die. Set aside.

Step 8:
Position the stamped image panel so that it’s horizontal on the stamping platform with the top of the panel on the left side.


Step 9:
Different interlocking cogs will be stamped along the edges of the image panel. Position cog stamps from both Cogs Clear Stamp Set 2 and Cogs Clear Stamp Set 3 facedown on the left and right of what is now the top of the image panel as shown on the top photo. Ink the stamps with Starlite Black Brilliance Ink, stamp, and heat set. Remove and clean the cog stamps.
Position two different cog stamps from the same sets facedown towards the center top edge of the image panel as shown on the center photo. Ink the stamps with Starlite Black Brilliance Ink, stamp, and heat set. Remove and clean the cog stamps.
Position a large cog stamp facedown in the center of the cog as shown on the bottom panel. Ink the stamp with Starlite Black Brilliance ink, stamp, and set. Remove and clean the cog stamp.
Step 10:
Flip the image panel so that the clean edge is at the top of the platform. Repeat Step 9 to complete a second cog border.
Trim the image panel to 5.5” square and edge with Starlite Black Brilliance Ink. Heat set the entire panel.
Step 11:
Use White Shimmer Delicata Ink to sponge a piece of 5.75” square white cardstock. Heat set.

Step 12:
Cut a piece of 12x12 Avalanche cardstock to 6” x 12”, score, and fold to form a 6” square card.
Place a piece of scrap paper into the card. Use a Sponge Dauber to apply Starlite Brilliance Ink to the outer .25” edges of the card. Heat set.

Step 13:
Use Tear It! Tape to adhere the shimmery white 5.75” square to the card.
Adhere the image panel.
Adhere the sentiment to finish the card.
Note: Lavinia Stamps can be purchased at Topflight Stamps!
No comments:
Post a Comment